Description
Running video of 10MM Mechanical anchors fasteners automatic heading machine
Application of 10MM Mechanical anchors fasteners automatic heading machine
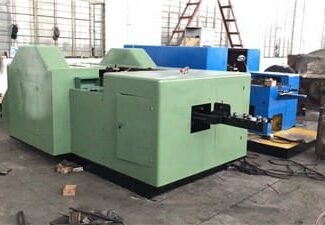
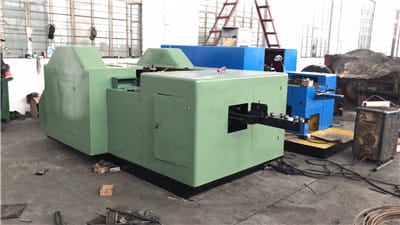
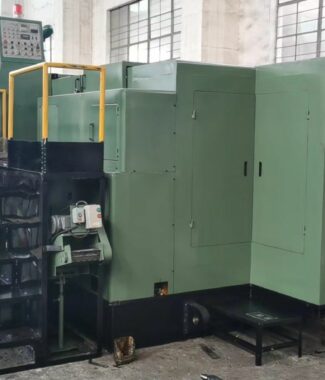
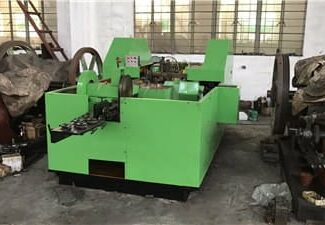
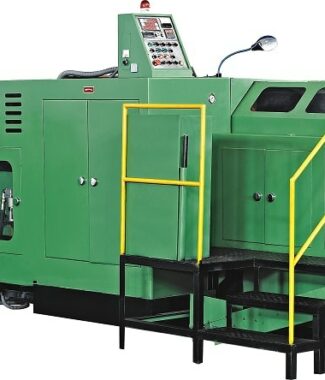
This machine is special designed for making concrete wedge anchors bolt,it adopts the cold forging method, Suitable for producing many kinds of concrete wedge anchors. The machine can automatically finish function of raw steel wire feeding,wire straightening,wire cutting, wedge anchor head forming,wedge anchor step forming and bolt end forming.Compare with multi stations bolt former,the machine investment is much lower also die cost and maintanance cost are much lower than multi stations bolt former.
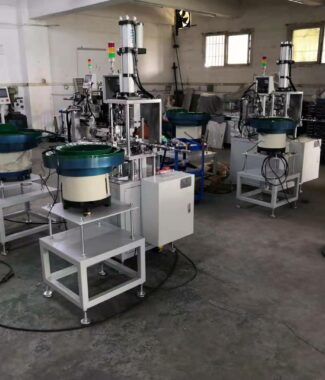
10MM Mechanical anchors fasteners automatic heading machine
| Line | Description | Parameters |
|---|---|---|
| 1 | Model: | AW23-10 |
| 2 | Suitable Sizes: | 5/16“-3/8"(M8-M10) by changing cold forging dies. |
| 3 | Max. Shank Length: | 120MM |
| 4 | Max. Production Speed: | 50PPM |
| 5 | Main Motor Power: | 7.5KW,3 phase,50HZ or customized |
| 6 | Approximate Weight: | 5800KGS |
| 7 | Approximate Dimension: | 3300*1600*1450MM |
Features of 10MM Mechanical anchors fasteners automatic heading machine
(1) Perfect design, easy operation,one process cold forging to get finished blank of wedge anchor bolt,no any material waste.
(2)Fingerless workblank transfter system design,increased the transfer system steady and high performance,meanwhile decreasing machine maintenance point and save cost of compressed air system.
(3)Single rail skid way design make the machine runs in high speed, and the production efficiency is also high.
Major installation kit of our machines are made from high quality material, undergoing high abrasion-resistance and low deformation heat treatment process, the machine is endurable with long time preciseness
(4) Our machines adopt the forced oil feeding system, to make sure all components of the machine run in films of oil condition, and the machine could be durable for long time.
(5) The key components of our machines are imported from Taiwan, Japan and Germany, which are all complied with the all high-precision, high-hardness, high-abrasion resistant requirements.
(6) Male mould ejection design, which solve the bolts blocking problem when running down.
(7) Perfect apperance of forged wedge anchor bolt blank,the quality and apperance is similar as some world famous brands of wedge anchor fasteners,like Hilti,Trubolt,Redhead..etc.
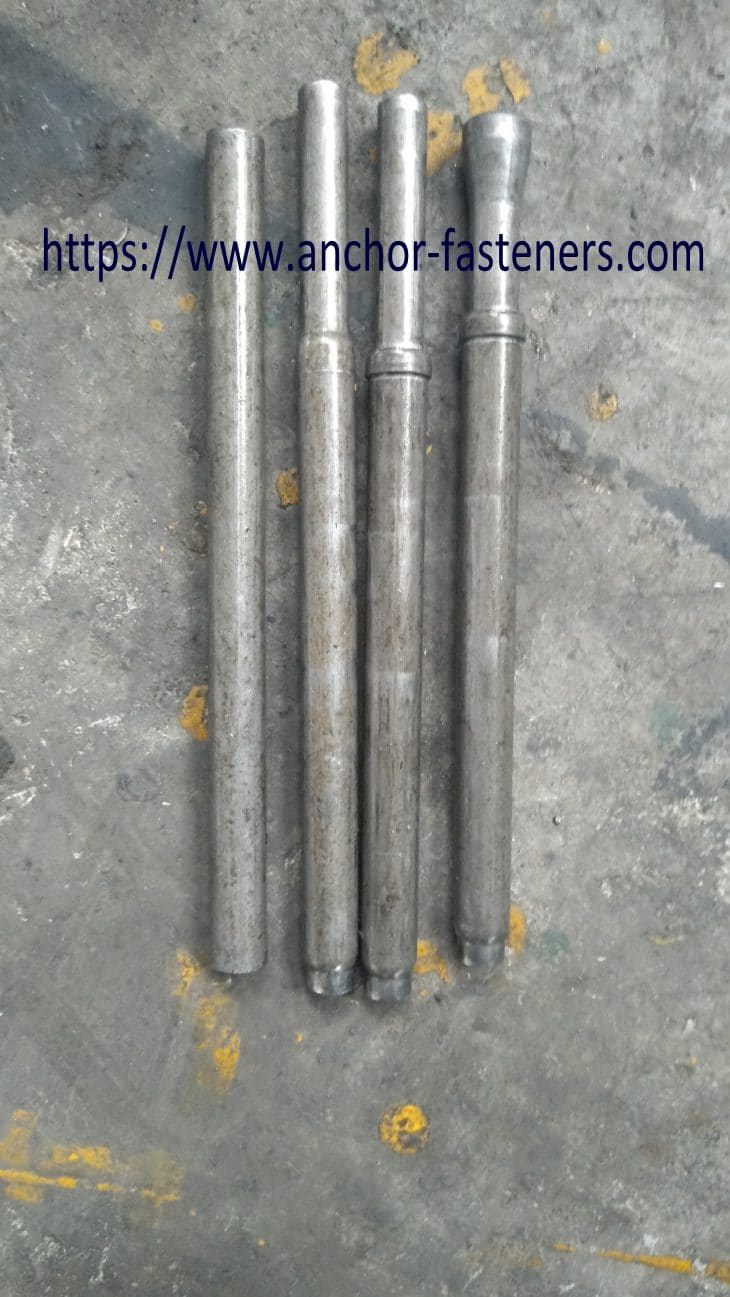
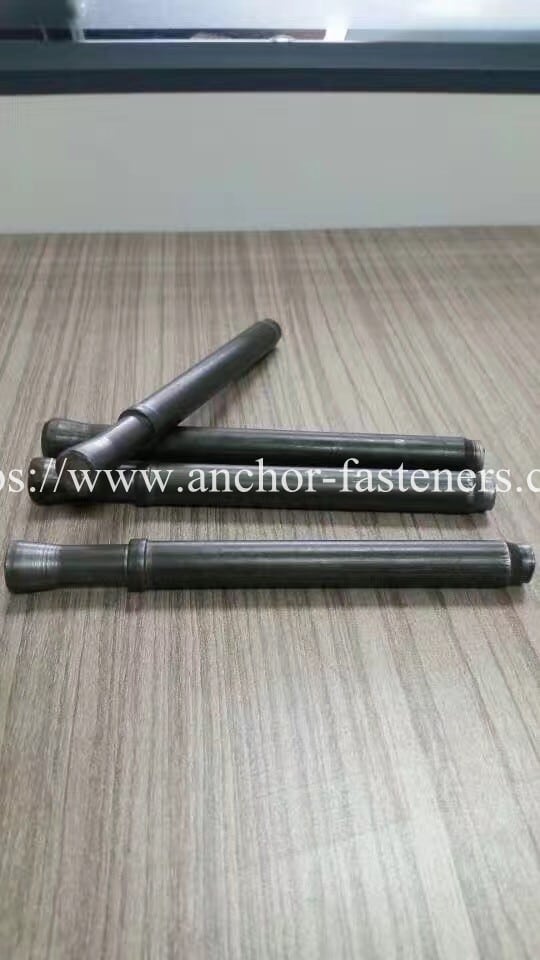
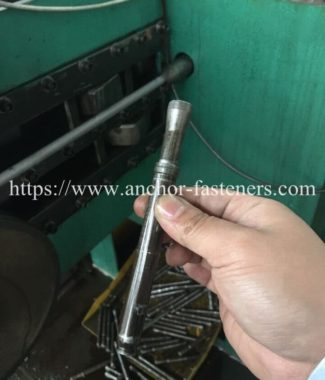
10MM Mechanical anchors fasteners automatic heading machine blanks forging shapes shows above
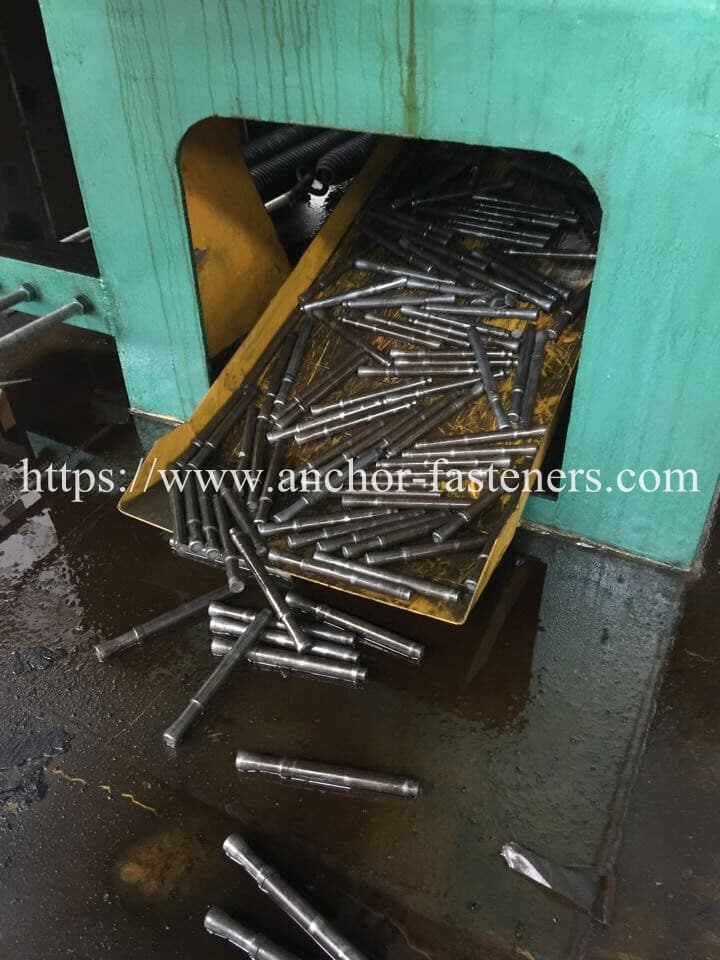
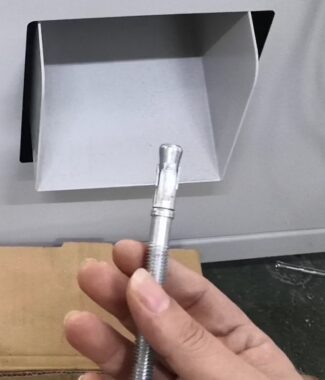
10MM Mechanical anchors fasteners automatic heading machine finished wedge anchor outlet
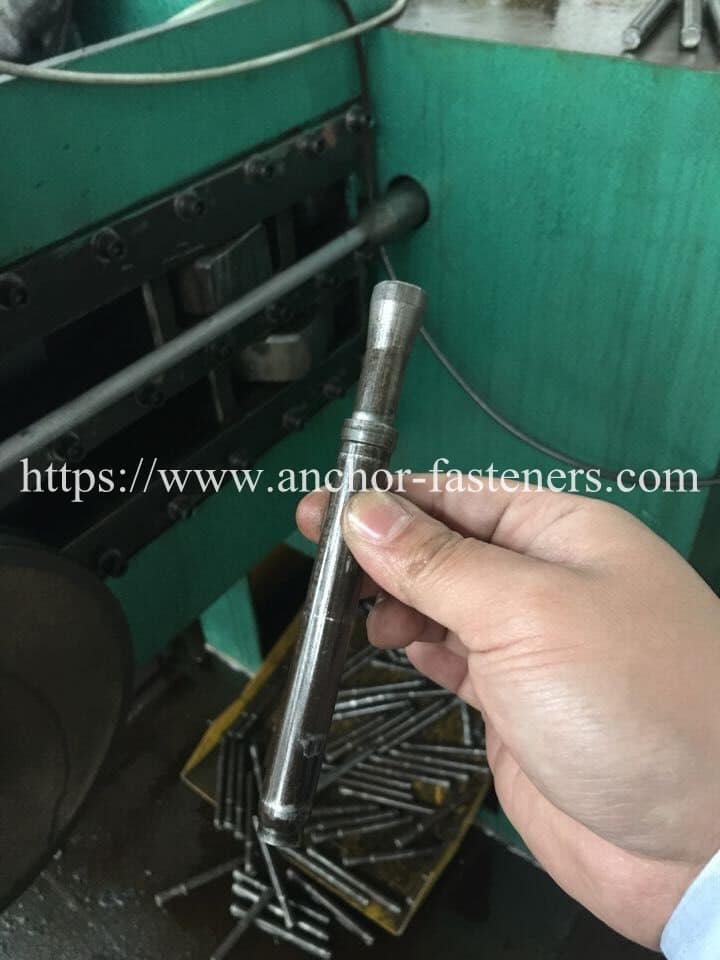
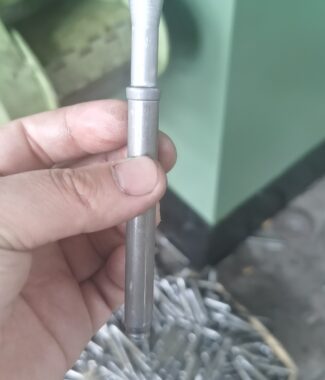
10MM Mechanical anchors fasteners automatic heading machine finished wedge anchor show by forging
The flow process of 10MM Mechanical anchors fasteners automatic heading machine
Raw wire→ Wire drawing machine →Cold forging machine →Thread rolling machine → Heat treatment furnace→ Zinc Plating (dye) line → Packing
(1). Draw the raw wire to the wire diameter needed. (Wire drawing machine)
(2). Adjust, produce, and forging the head of wedge anchor on the forginging machine. (Wedge anchor froging machine)
(3).Rolling the bolt thread by the thread rolling machine, and form the wedge anchor completely (Wedge anchor thread rolling machine)
(4). Treat the semi-finished bolt in the heat treatment furnace according to the process standard (Heat treatment furnace)
(5). According to the requirements, process zice plating/hot dip galvanizing etc. (Zinc plating machine)
(6). Packing and delivery to customer

Installing a Wedge Anchor: Step by Step Instructions
Whats a Wedge Anchor?
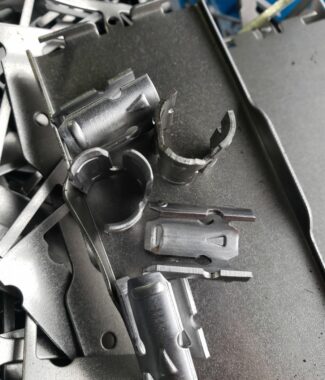
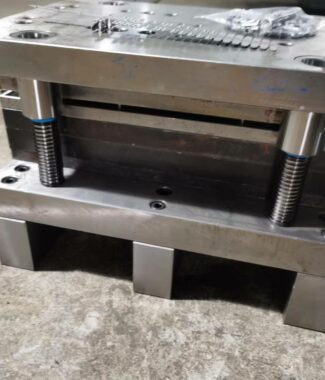
A wedge anchor is a mechanical type expansion anchor that consists of four parts: the wedge anchor bolt body which can be forged by wedge anchor making machine, the expansion clip which can be punched by wedge anchor clip making machine, a nut which can be forming on multi stations forging machine, and a washer which can be produced by sheet metal Progressive stamping die. It is designed for use in solid concrete only. These anchors provide the highest and most consistent holding values of any mechanical type expansion anchor.
Installing an anchor into concrete can be accomplished by following the directions below.
1. Assemble the right wedge anchor insatlling tools
- A hammer drill must be used to create the hole in the concrete
- Use a hammer drill set in the hammer and rotation mode. This ensures proper hole dimensions and makes drilling the hole easier.
- Not using a hammer drill will make the hole difficult to drill and may decrease the holding value of the anchor once installed.
2. Determine the sizes
- Determine the minimum length of wedge anchor to use by adding the thickness of the material to be fastened to the minimum embedment for the diameter of the anchor to be installed with space for the nut and washer.
- These anchors can be installed at deeper embedments than the minimum embedment depth. In most cases, this will provide better holding values.
- Use a bit that is the same diameter of the anchor being installed.
- Use an ANSI standard carbide tipped masonry bit, and chuck it into the hammer drill.
- Use ANSI standard bits to ensure proper hole tolerance between the hole diameter and anchor diameter.
- Hole tolerance is critical to ensure minimum holding values.
3. Drill the hole
- Drill a hole that is slightly deeper (a minimum of 1/2”) than the expected embedment depth.
- Make sure that the minimum embedment depth for the diameter of the anchor is met. The minimum depth of embedment after the anchor is set is as follows:
Minimum Embedment Depth by Diameter of Wedge Anchor
| Wedge Anchor Diameter | Minimum Embedment Depth |
|---|---|
| 1/4” | 1-1/8” |
| 5/16” | 1-1/4” |
| 3/8” | 1-1/2” |
| 1/2” | 2-1/4” |
| 5/8” | 2-3/4” |
| 3/4” | 3-1/4” |
| 7/8” | 3-7/8” |
| 1” | 4-1/2” |
| 1-1/4” | 5-1/2” |
4. Check the depth
- Be sure the depth of the hole is correct. Set the depth gauge on the hammer drill or place tape on the bit at the required depth.
- Make sure that when placing the tape on the bit or setting the depth gauge that the bit is in the retracted position. The retracted position is when the bit is at its most inward position in the chuck.
5. Clean the hole
- Clean the hole of all dust and debris to help ensure proper holding values once the anchor is installed. Clean the hole by using a wire brush, vacuum, or compressed air.
- Use a wire brush to clean the hole, and then vacuum the hole. Repeat this a few times, and the hole will be clean and ready for installation.
6. Install the wedge anchors
- Each box of anchors comes with the correct number and size of nuts and washers.
- Take one washer and place it over the threaded end of the anchor body.
- Then take one nut and thread it clockwise onto the anchor body until the top of the nut is flush with the top of the anchor body. This protects the threads of the anchor during installation.
- Install the anchor through a hole in the fixture, or install directly into the concrete, and then place the fixture over the anchor.
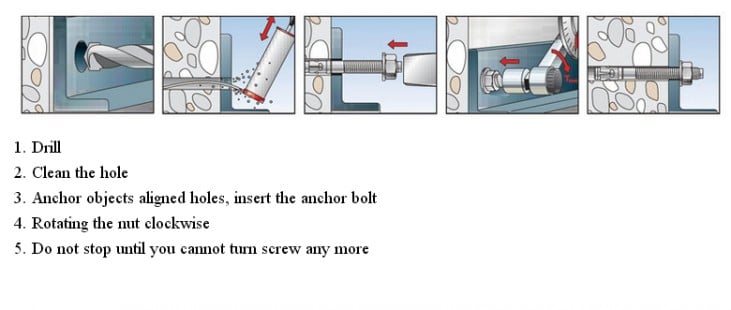
Install the wedge anchors in the fixture
If the anchor is going to be installed while the fixture is in place, make sure that the hole in the fixture is slightly larger than the designated diameter of the anchor (see chart below). Insert the anchor, clipped end first, through the hole in the fixture and into the in the concrete. With a hammer, strike the nutted end of the anchor until the washer and nut are tight against the surface of the concrete. Make sure that the anchor is embedded at least to the minimum embedment depth, (see chart above).
| Wedge Anchor Diameter | Minimum Fixture Hole |
|---|---|
| 1/4” | 5/16” |
| 5/16” | 3/8” |
| 3/8” | 7/16” |
| 1/2” | 9/16” |
| 5/8” | 3/4” |
| 3/4” | 5/8” |
| 7/8” | 1” |
| 1” | 1-1/8 |
| 1-1/4” | 1-3/8” |
Direct into Concrete – Insert the anchor directly into the predrilled hole in the concrete with the clipped end going first. Strike the nutted end of the anchor with a hammer until the anchor is embedded into the concrete the required distance, see minimum embedment chart above. Make sure that a minimum of three to five threads are below the surface of the concrete and there are enough threads above the surface to accommodate the thickness of the material being fastened and space for the nut and washer.
To set the anchor in the concrete, turn the nut clockwise with your fingers until tight. Then use a wrench to turn the nut clockwise three to five full turns, or until the specified torque value is reached for the diameter of the anchor being installed. Over torquing the anchor may cause the anchor to spin in the hole and the holding values will be compromised.
Concrete Wedge Anchor Installation Torque
| Diameter | Torque Ft/lbs |
|---|---|
| 1/4” | 4 |
| 3/8” | 25 |
| 1/2” | 55 |
| 5/8” | 90 |
| 3/4” | 110 |
| 7/8” | 250 |
| 1” | 300 |

